Product Information
Solutions
Technical Information
Motor Sizing
Downloads
Virtual Showroom
Contact Us
Network Products > Multi-Axis Controllers > MRC Robot Controller EtherNet/IP (DC Input)
AZ Series EtherNet/IP™ Compatible Drivers (AC Input)
αSTEP Hybrid Step-Servo
Robot Controller EtherNet/IP™ (DC Input)
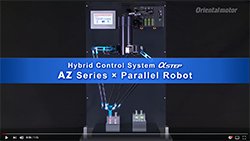
The MRC01 robot controller supports easy programming and control of in-house designed custom built robots with 3 simple steps: "Initial Setup", "Operating Programming" and "Operational Checking".
Use the AZ Series family of products to support your in-house design for improved performance and ease of use.
- Easily introduce custom-built robots to existing systems
- Direct control via EtherNet/IP™
- Easy setup even for beginners (no ladder logic)
- Experience the "MRC Studio" programming software (trial version) before purchase
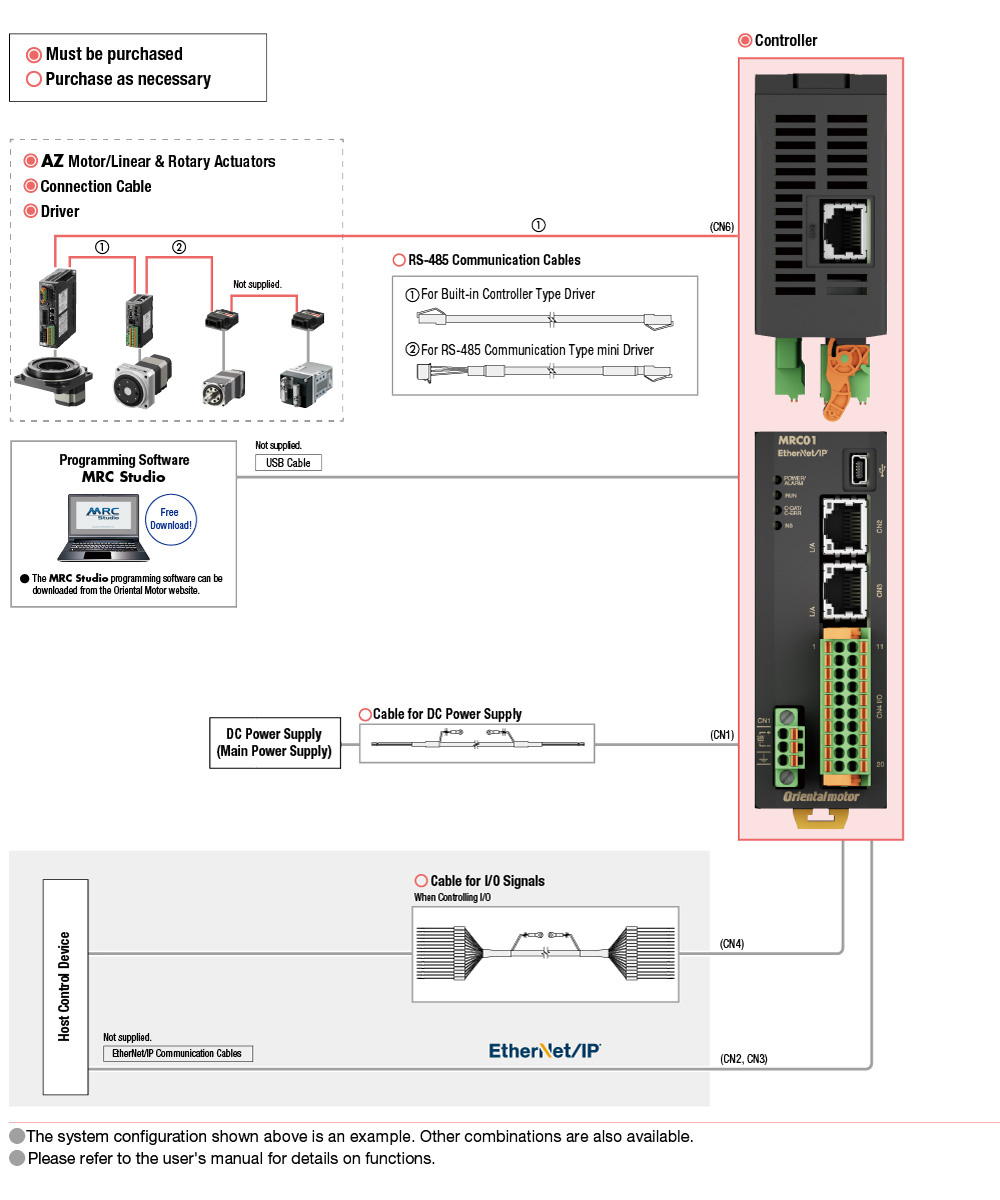
- Use with AZ Series drivers: built-in controller type (AC/DC) or mini driver RS-485 communication type (24/48 VDC)
![]()
EtherNet/IP™ is a trademark of ODVA.
Need Help Sizing?
Please fill out and submit the appropriate product recommendation request form, and our technical support team will follow up with details on motor selection and software feasibility. We can also use your design drawing or CAD file if it works better for you.
Product Lineup
Item |
Network |
Power Supply |
Control Power Supply |
EtherNet/IP™ |
EtherNet/IP™ |
24 VDC |
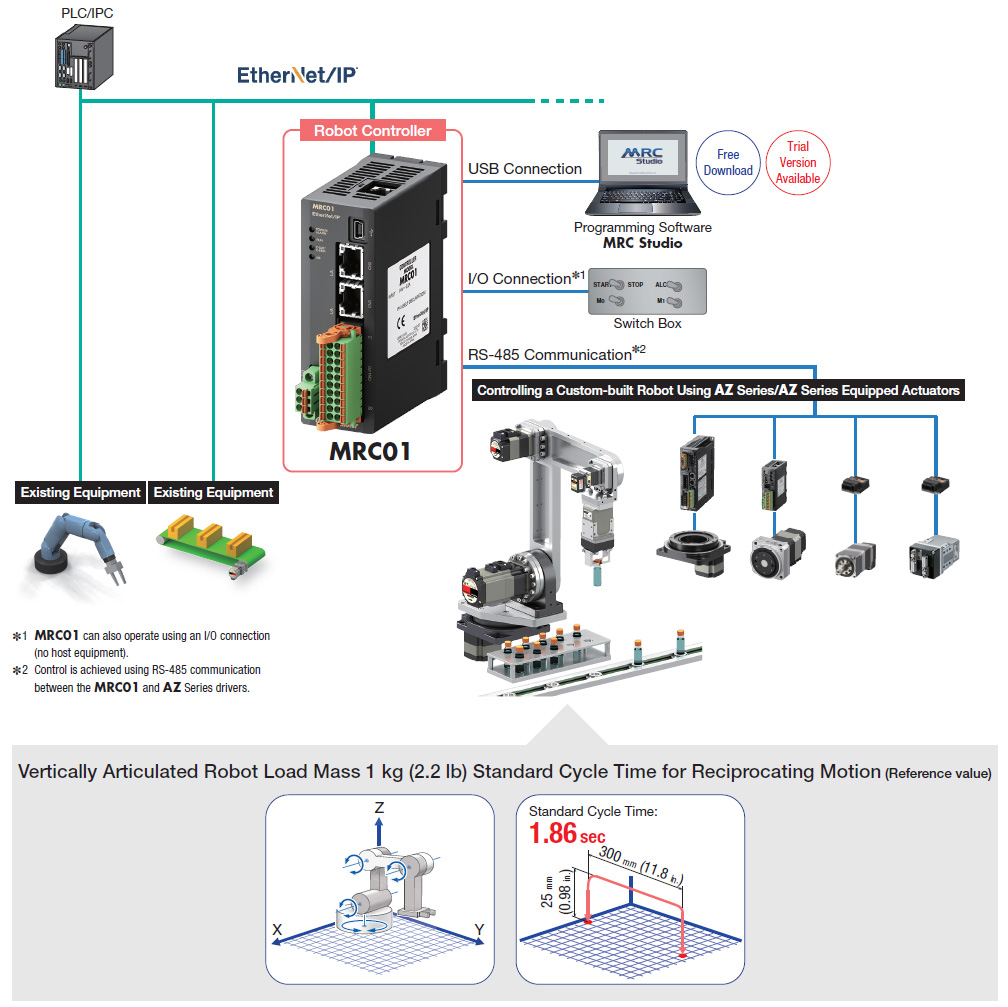
Easily Introduce Custom-built Robots to Existing Systems
The connection between the MRC01 and host system is controlled directly via EtherNet/IP™. Custom-built robots can be added easily, without the need to make major changes to the control system from the existing equipment.
Easy Set Up Even for Beginners
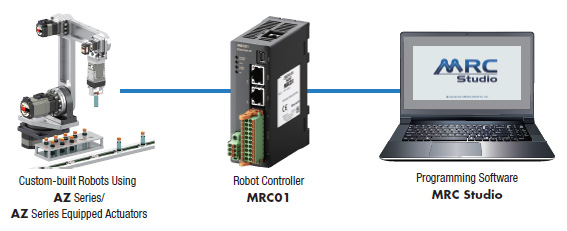
The "Programming Software MRC Studio" has been prepared to simplify setting up custom-built robots from the initial setting step to the operation programming step. A trial version of the programming software is also available to allow customers the chance to experience the operation of the MRC01 before purchase.
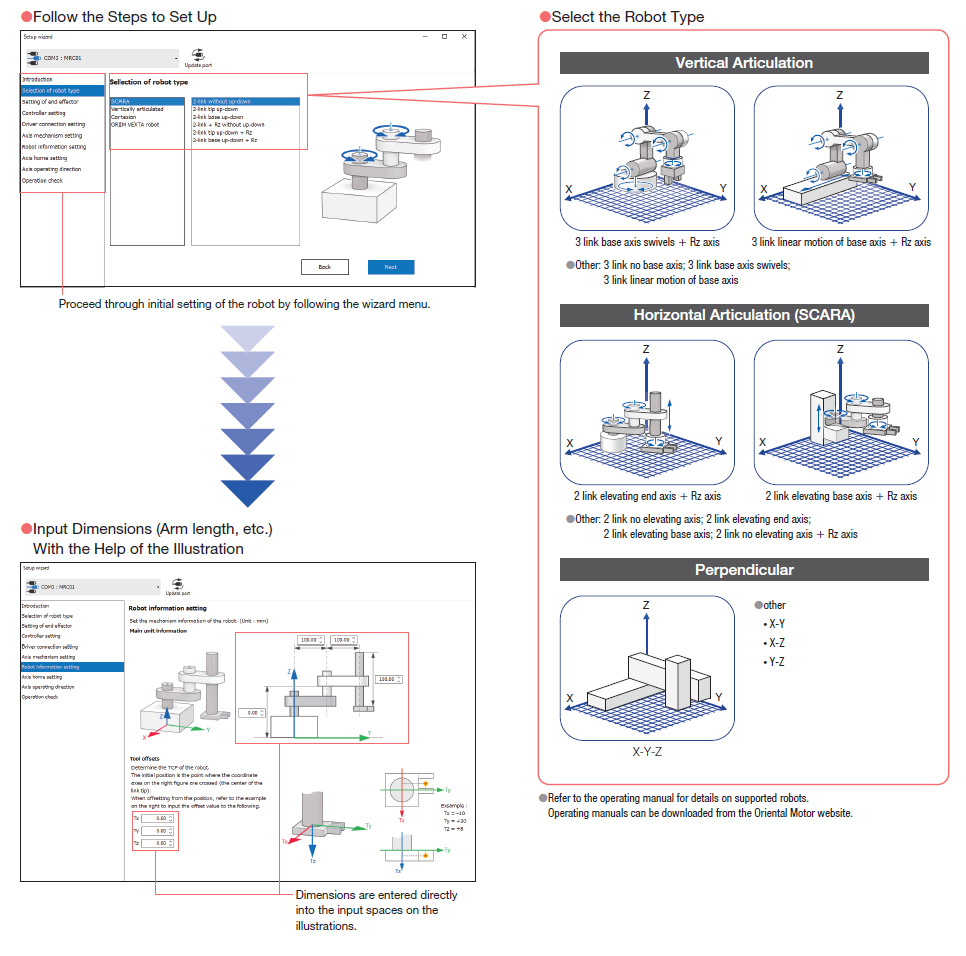
STEP 1 - Easy Setup with Step by Step Guidance
Initial settings are made using a wizard to select the robot type and input mechanism information.
By following the guidance instructions while looking at the illustrations, even absolute beginners can quickly set up a robot's initial settings.
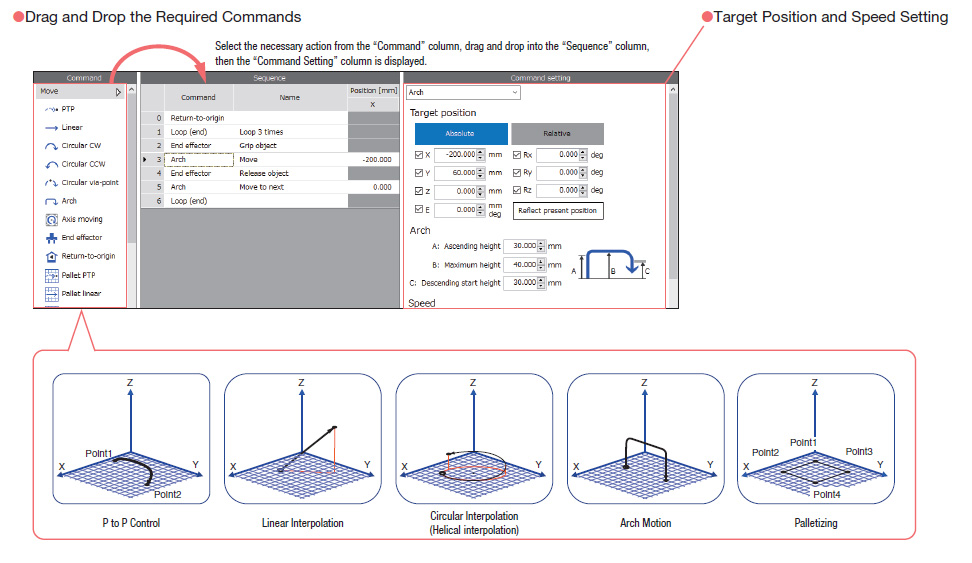
STEP 2 - Say Goodbye to Ladder Logic! Select Items to Program Operation.
Program creation uses a simple command selection format. Programs can be created intuitively, without requiring specialized knowledge such as ladder diagrams. The system supports P to P operation, linear interpolation operation, circular interpolation operation, arch motion and others.
Operating data is executed directly from a host controller via EtherNet/IP.
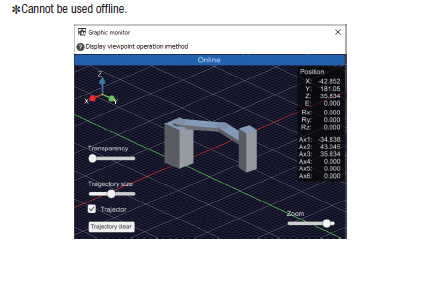
STEP 3 - Check Operation with an Online 3D Simulator.
The robot’s operation program can be checked using a 3D simulator. The program can be checked easily before the actual robot is activated.
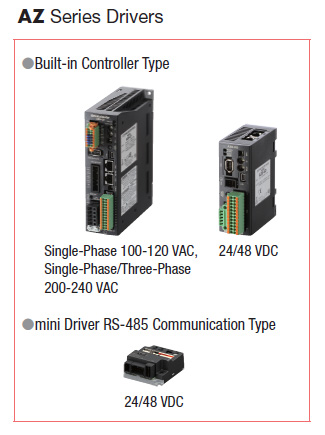
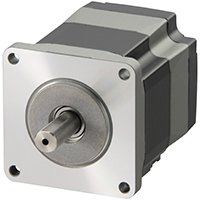
AZ Series Products
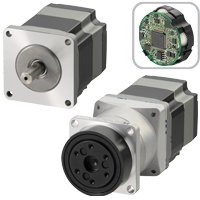
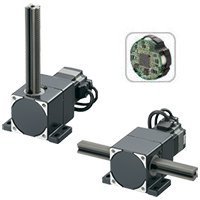
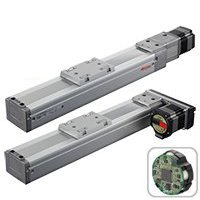
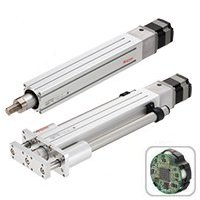
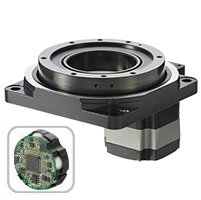
Eliminate Extra Sensors with a Battery-Free Absolute System
The αSTEP AZ Series Mechanical Absolute Encoder is available as a leading closed loop, battery free absolute motion solution sold as a Stepper Motor + Driver or Linear Actuator + Driver allowing for absolute, battery free, advanced performance across a wide range of applications.
The MRC01 Robot Controller is for use with AZ Series Built-in Controller Type and mini RS-485 Communication Type Drivers
Robot Application Recommendation
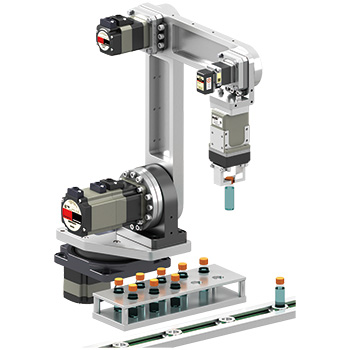
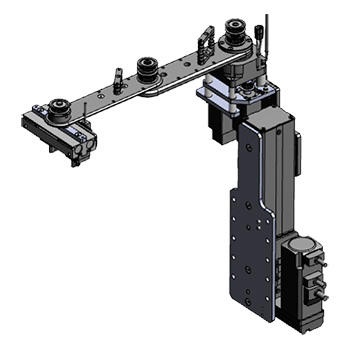
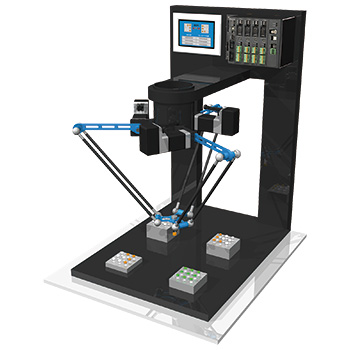
The MRC01 robot controller is recommended for use with articulated robots, SCARA robots and delta robots.
Our technical support team will select the right motors for you. Please select the type of robot you are building, fill in the necessary information, and submit the form online. If you have a different type of robot application, please contact our technical support team for assistance.
RS-485 Communication Cables
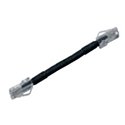
These cables are used to connect MRC01 and AZ Series driver.
Item |
Driver |
Length |
AZD-KD |
0.1 m (0.33 ft.) |
|
AZD-AD |
0.25 m (0.83 ft.) |
|
AZD-KR2D |
2 m (6.6 ft.) |
|
5 m (16.4 ft.) |
DC Power Supply Cables
These cables are used to connect MRC01 and the DC power supply.
Item |
Length |
0.5 m (1.64 ft.) |
|
1 m (3.3 ft.) |
|
1.5 m (4.9 ft.) |
|
2 m (6.6 ft.) |
|
5 m (16.4 ft.) |
MRC Studio Software
MRC Studio is a programming software that supports everything from startup to maintenance. A computer can be used to create operation programs, edit various parameters, perform teaching, and monitor various statuses.
Driver Cables (Built-in Controller Type)
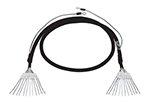
It is a general-purpose multi-core cable convenient for connection between the driver and host controller.
Item |
Lead Wires |
Length |
6 |
0.5 m (1.65 ft.) |
|
1 m (3.3 ft.) |
||
1.5 m (4.9 ft.) |
||
2 m (6.6 ft.) |
||
10 |
0.5 m (1.65 ft.) |
|
1 m (3.3 ft.) |
||
1.5 m (4.9 ft.) |
||
2 m (6.6 ft.) |
||
12 |
0.5 m (1.65 ft.) |
|
1 m (3.3 ft.) |
||
1.5 m (4.9 ft.) |
||
2 m (6.6 ft.) |
||
16 |
0.5 m (1.65 ft.) |
|
1 m (3.3 ft.) |
||
1.5 m (4.9 ft.) |
||
2 m (6.6 ft.) |
System Configuration
CAD / Manual Search
To locate product CAD and Operator Manuals please search using the product Item Number.
Downloads
Videos
Stepper Motors
Electric Linear Actuators / Linear Slides
Electric Linear Actuators / Cylinders
Rack and Pinion Systems
Rotary Actuators